
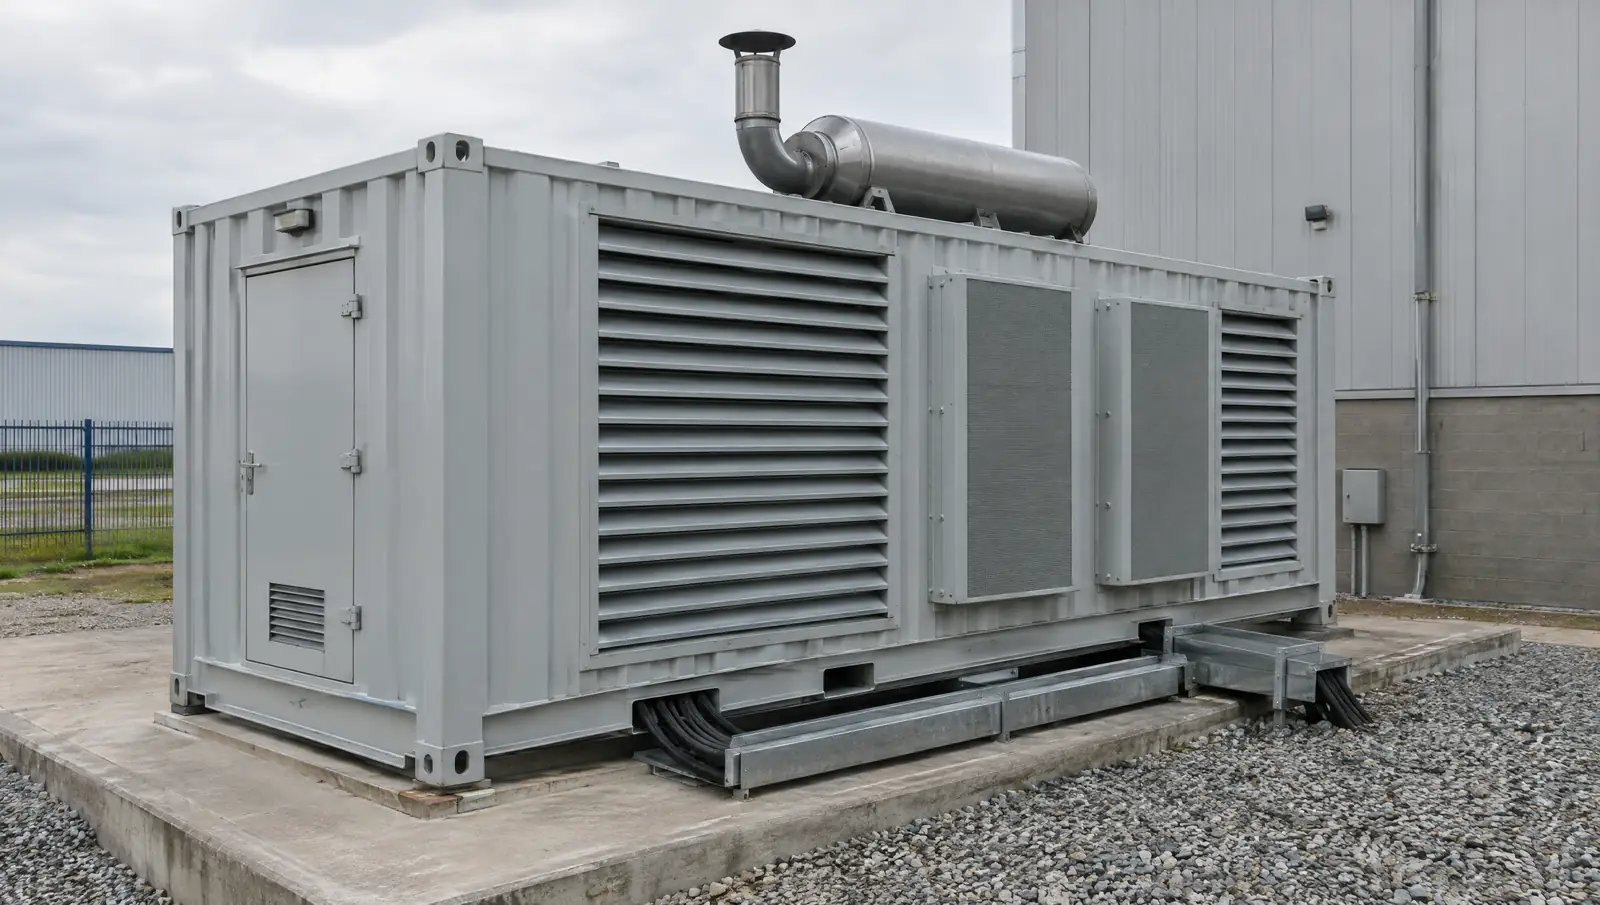
Anyone fitting out a container faces an unusual starting point for the electrics: there is no masonry in which a slot can be cut later. Behind the lining sit a corrugated steel wall, insulation and a vapour barrier that must not be damaged. If you only notice after the drylining that a socket is missing, you either drill through the vapour barrier or run cables visibly on the wall. Electrical planning therefore belongs before the insulation, not after.
This article deals with the installation inside the container. How power reaches the plot and the container – site power, permanent connection, cable cross-section on the outside run – is covered in Power supply for a container. The interface between the two is the distribution board in the container. Standards and rules mentioned refer to Germany.
What makes container electrics different
Four properties distinguish a container from a masonry room:
- Conductive steel shell. Walls, floor and roof are steel. The shell must be bonded into the equipotential bonding, and cables must not chafe on sharp sheet edges.
- Small area, high density. A 20 ft container measures roughly 5.90 × 2.35 m inside, i.e. about 13.9 m² (internal height approx. 2.39 m standard, approx. 2.70 m high cube). Workstation, heating and appliances compete for a few metres of wall, which makes socket and luminaire planning tighter than in a house. Dimensions in detail: Container sizes and dimensions.
- Thin wall build-up. Every centimetre of insulation costs interior space. An additional installation layer is therefore a deliberate decision, not a given.
- Condensation risk. The steel shell cools strongly in winter. Penetrations of the vapour barrier are weak points where humid room air can reach the insulation layer; more in Insulating a container and Thermal bridges in containers.
Electrical planning in five steps
- Define the use. Office, workshop, hobby room, garden room, living? Number of sockets, lighting level, type of heating and protection depend on it.
- List the loads. Every appliance with its power in watts, including heating or air conditioning – usually the largest single item.
- Form circuits. Large loads get their own circuits; the rest is grouped by function and room zone.
- Fix positions on the floor plan. Sockets, switches, luminaires and the board are drawn to scale before the insulation is ordered.
- Clarify cable routes and penetrations. Where do cables enter the container, where is the installation layer, where are conduits?
The qualified electrician designs the circuits (step 3) and checks the positions (step 4); you supply the use, the list of appliances and the floor plan. The more precise your brief, the fewer change orders.
Splitting circuits: an example
The split is not just about comfort. It also limits the consequences of a fault: if one circuit trips, the whole container should not go dark. As an example, a 20 ft container as a garden office:
| Circuit | Loads | Typical (indicative) |
|---|---|---|
| 1 Lighting | Ceiling lights, possibly outdoor light | 16 A circuit breaker, cable usually 1.5 mm² |
| 2 Workstation sockets | Monitor, computer, docking station, network | 16 A, usually 2.5 mm² |
| 3 General sockets | Kettle, vacuum cleaner, chargers | 16 A, usually 2.5 mm² |
| 4 Air conditioner or heat pump | Split unit | own circuit, sized to manufacturer’s data |
| 5 Heating (if electric) | Infrared or convector heater | own circuit, sized to power rating |
The cable and fuse sizes are common practice values, not a requirement: cross-section, installation method and protection are determined by the electrician. A 2 kW kettle and a 2 kW fan heater on the same socket strip are the classic example of why a circuit becomes too tight: at 230 V a 16 A circuit corresponds arithmetically to 3,680 W (16 × 230); the two appliances together draw 4,000 W, already above that, and the breaker trips. Heating therefore belongs on its own circuit.
A board with spare ways is practical: if you need five circuits today, leave room for two or three more. A board in a container often has only one wall surface; it should stay accessible, not disappear behind shelves, and sit near the entrance or the supply cable.
Sockets: how many and where?
Too few sockets lead to multi-way adapters and extension leads – one of the most common fire risks in small buildings. Prescribing a fixed number would be unreliable because use decides. As a guide:
| Use | Sockets (indicative) | Special point |
|---|---|---|
| Garden office, one workstation | at least 6 at the workstation, plus 2–3 in the rest of the room | Some at desk height, network socket beside them |
| Workshop | one triple unit per wall section, plus a CEE socket for three-phase machines | Splash protection depending on dust and moisture; see Container as workshop and garage |
| Hobby room / storage | 2–4, preferably above stacking height | Sockets behind shelves are useless |
| Living (tiny house) | several per wall section, kitchen and bathroom separately | Kitchen and wet areas per standard requirements; the electrician decides |
Think of the wall length: on a 5.90 m long wall, after door, window and shelving often only 2 to 3 m remain free. A simple planning rule follows: sockets where appliances stand, not evenly spread. Draw furniture and appliances on the floor plan before fixing socket positions. If you need an outdoor socket, choose splash-protected versions (IP44 is usual) and have the penetration sealed.
Lighting: a rough calculation
How much light does a 20 ft container need? The interior area is about 13.9 m² (5.90 m × 2.35 m). For workplaces, illuminance levels are given in the German Technical Rules for Workplaces, ASR A3.4; a figure of about 500 lux is frequently cited for office work. Living and hobby rooms usually need far less, roughly 100 to 200 lux in the room, plus task lighting depending on the activity.
The simplified luminous flux method gives an estimate: luminous flux = illuminance × area ÷ utilisation factor. For small rooms with light-coloured lining, assume a lighting utilisation factor of about 0.5 to 0.6.
| Use | Illuminance | Total luminous flux (approx.) | LED power at 100 lm/W (approx.) |
|---|---|---|---|
| Hobby room, general | 100 lx | 2,300–2,800 lm | 23–28 W |
| Living room, plus task lighting | 200 lx | 4,600–5,500 lm | 46–55 W |
| Office workstation | 500 lx | 11,500–13,900 lm | 115–139 W |
The calculation shows that even an office container needs only a modest connected load for lighting. The figures are a rough estimate for orientation, not a lighting design. Distribution matters more than wattage: several smaller luminaires or a light strip along the long axis dazzle less than a single fitting in the middle of the room, and glare-free light at the screen matters more than peak values. Dimmable luminaires and separately switched groups let you separate task and ambient light. More on workplace design in Setting up an office container.
Cable routing in steel wall and insulation
This is the most important planning point and one that can hardly be corrected later.
Option A: cables in an installation layer. Between the vapour barrier and the interior lining, battens or studs are fitted, with cables and boxes in the cavity. The vapour barrier remains undisturbed. Price: one to a few centimetres of room depth. This is the cleanest solution for living and office containers.
Option B: cables in the insulation layer. Cables disappear into the insulation. Boxes and penetrations of the vapour barrier must then be sealed airtight, and the installation method affects the permissible current-carrying capacity of the cable, which the electrician must take into account. With spray foam, cables and conduits should be laid before the foam is applied; see Spray foam insulation in containers.
Option C: surface-mounted. In workshops, storage and uninsulated containers, running cables in trunking or conduit on the wall is often the sensible solution. It can be changed later.
Whatever the concept:
- Cables pass through the steel wall only with grommets or cable glands, so that no sharp edge damages the insulation and moisture cannot enter.
- Do not weaken structural parts. Drilling into corner posts and longitudinal rails is not an option; openings in the corrugated wall also change the load behaviour. Explained in Retrofitting windows and doors.
- Conduits for later extensions (network, additional circuits) are cheap while the wall is open.
- Document the cable routes: photograph each wall before closing it, with dimensions to corners and ceiling. Whoever later mounts a shelf needs to know where not to drill.
Protective measures: bonding, RCD, moisture
Key points to discuss with the electrician:
- Equipotential bonding. The steel shell is connected to the equipotential bonding or earthing so that it cannot become live in the event of a fault. This is not a DIY job.
- Residual current device (RCD). Usual for socket circuits in non-professional use: tripping current up to 30 mA. Details in Power supply for a container.
- Moisture and condensation. Kitchens, bathrooms and outdoor mounting have special requirements for protection rating and distances. In a bathroom, sockets are not permitted in just any zone.
- Fire protection. Living and sleeping rooms generally require smoke alarms under the state building codes (Landesbauordnungen); do not store combustible items near the board. Basics in Fire protection in containers.
- Surge protection can be worthwhile where supply cables run across open ground or sensitive electronics are operated. Whether it is needed and which type is for the electrician to decide.
Heating and cooling: where the power demand really lies
When calculating connected load, heating and cooling often dominate, not lighting and sockets. Example: lighting of around 100 W and an office workstation of 300 W compare with a fan heater of 2,000 W. A heat pump (split air conditioner) usually draws markedly less electrical power in operation than a fan heater for the same amount of heat, but it needs its own circuit and a specialist firm for the refrigerant work. Whether fan heater, infrared or heat pump: choose the appliance before planning the board, because the circuit depends on it. Background: Converting a container into a living space and the load estimate in the power supply article.
Who does what: DIY and specialist firm
The fixed electrical installation – board, cables, sockets, connection to the grid – is reserved for qualified electricians. As the client you can still contribute a lot: draw the floor plan, list loads, photograph the walls, prepare the wall build-up (insulation, lining) and agree conduits or box positions with the electrician. What you may prepare is for the electrician to decide; testing and commissioning are their responsibility.
Acceptance includes an initial inspection of the installation and a test record. Keep it: it can matter for insurance, later sale and periodic inspections. If you use the container commercially, clarify the inspection duties for workplaces. Costs: electrical installation in the fit-out is, depending on scope, approx. €1,500 to €4,000 for a 20 ft container including board and materials (indicative value without guarantee; compare the cost overview in Fit-out costs by trade).
Typical mistakes
- Thinking about electrics only after lining. The result is surface-mounted cables or holes in the vapour barrier.
- Too few sockets, too many multi-way adapters. Plan more than you think you need today.
- Heating on a socket circuit. High-power loads belong on their own circuits.
- Cables through sharp sheet edges without grommets.
- No documentation of cable routes. Later drilling hits cables.
- Board without spare capacity. Every extension then becomes a rebuild.
- DIY work on the fixed installation. Not permitted and relevant to insurance in the event of damage.
Checklist before closing the wall
- Floor plan with furniture, appliances, sockets, switches and luminaires finished
- Circuits and board (with spare ways) agreed
- Heating/cooling chosen and own circuit planned
- Installation layer or surface-mounted concept decided
- Penetrations with grommets planned, structural parts untouched
- Conduits for later extension laid
- Boxes installed airtight in the vapour barrier
- Walls photographed and measured before closing
- Inspection and test record agreed with the electrician
Important note
This article replaces neither electrical design nor inspection. Standards and technical rules (e.g. the DIN VDE 0100 series and ASR A3.4) are for orientation; which requirements apply in an individual case depends on use, location and execution. Work on the fixed installation is reserved for qualified electricians. Prices and figures are indicative values without guarantee. Whether and how the container needs planning permission depends on location, duration and use – see Container building permit.
Conclusion
Container electrics are not decided by connected load but by planning cable routes before the fit-out. If you fix use and loads early, separate circuits sensibly, give heating and cooling their own circuits, plan an installation layer and leave spare capacity in the board and conduits, you avoid almost all costly rework. Execution, inspection and acceptance belong in the hands of a qualified electrician.